
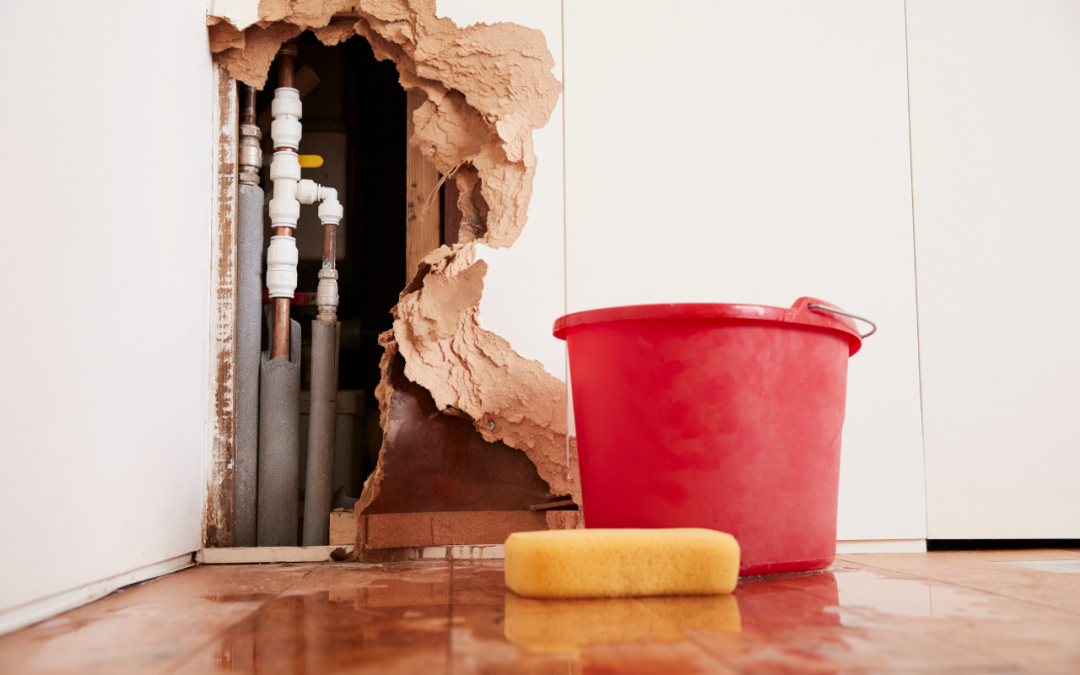
A slow drip at a pipe connection may look harmless, but repeated moisture can damage cabinets, drywall, flooring, insulation, and framing. Leaking pipe joints should be addressed early because the visible drop is sometimes only part of the water escaping. Start by locating the exact connection and determining whether the leak occurs constantly or only during use.
Find the Joint That Is Actually Leaking
Water travels along pipes before dripping, so the wettest spot isn’t always the source. Dry the entire area, then run the fixture and watch the joints closely.
A piece of dry tissue or paper towel can help reveal small leaks around accessible fittings. Check supply connections, drain slip joints, appliance hoses, shutoff valves, and threaded fittings separately.
Reading about broader property maintenance topics can help homeowners recognize how minor plumbing leaks affect surrounding finishes and building materials over time.
Determine Whether It Is a Supply or Drain Leak
Supply pipes remain pressurized, so a leaking supply connection may drip even when no fixture is running. Drain fittings usually leak only when water passes through them.
That distinction affects urgency. A supply-line leak can release water continuously, while a drain leak may stay hidden until a sink, tub, dishwasher, or other fixture is used.
Check the connection, not only the pipe
Loose nuts, damaged washers, misaligned slip joints, corrosion, deteriorated seals, and cracked fittings can all produce moisture around a joint. Tightening isn’t automatically the correct solution.
Make Small Repairs Carefully
Before working on a pressurized water connection, shut off the appropriate water supply. Place a container and towels underneath the joint, then confirm the water has stopped before disassembly.
Some drain slip-joint leaks can result from a washer installed backward or a pipe that isn’t aligned correctly. Supply fittings require repair methods matched to their specific material and connection type.
General household care resources can complement plumbing repairs by covering cabinet protection, cleanup, ventilation, and maintenance access.
| Leak Pattern | Possible Source | First Action |
|---|---|---|
| Constant dripping | Supply fitting | Shut off water |
| Leaks during draining | Drain joint | Inspect washer |
| Moisture after appliance use | Hose connection | Check fitting |
| Dampness with corrosion | Aging component | Plan replacement |
Dry the Area After the Leak Stops
Repairing the joint doesn’t automatically solve the moisture problem around it. Remove standing water and allow damp materials to dry promptly.
Cabinet bases, drywall, insulation, and flooring can hold moisture long after the surface looks dry. Persistent dampness or musty odor may justify closer inspection.
Ideas related to interior maintenance ideas can help with monitoring finished surfaces around sinks, vanities, laundry areas, and other places where concealed moisture may first appear.
Why Overtightening Can Make Things Worse
A common reaction to a leaking fitting is to tighten it as hard as possible. That can distort washers, crack plastic nuts, damage threads, or place stress on the connected pipe.
If moderate tightening doesn’t stop the leak, identify the failed seal or fitting instead of applying more force. Replacing a worn washer or damaged component is often more effective than repeatedly tightening the same connection.
Frequently Asked Questions
Can a small pipe-joint leak cause mold?
Persistent moisture creates conditions where mold can develop on suitable materials. The risk depends on how wet the area becomes, how long it stays damp, and what materials are affected.
Why does a drain joint leak only sometimes?
Drain connections carry water only when the fixture empties. A slightly misaligned joint or worn washer may remain dry until a larger volume of water passes through it.
When should I call a plumber for a leaking joint?
Professional help makes sense when the fitting is corroded, inaccessible, repeatedly fails after repair, involves unfamiliar materials, or cannot be isolated safely.
Stop the Water and Then Check the Damage
Fix the source first, but don’t stop there. Dry the surrounding area, inspect materials that absorbed moisture, and recheck the joint after normal use. A repair is complete only when the connection stays dry and the nearby structure is no longer holding unwanted moisture.